Purchasing a Custom Domain
Once you’ve set up your Teamspace and are ready to purchase a domain through Spike, you can follow these simple steps:
Getting to the Admin Page
-
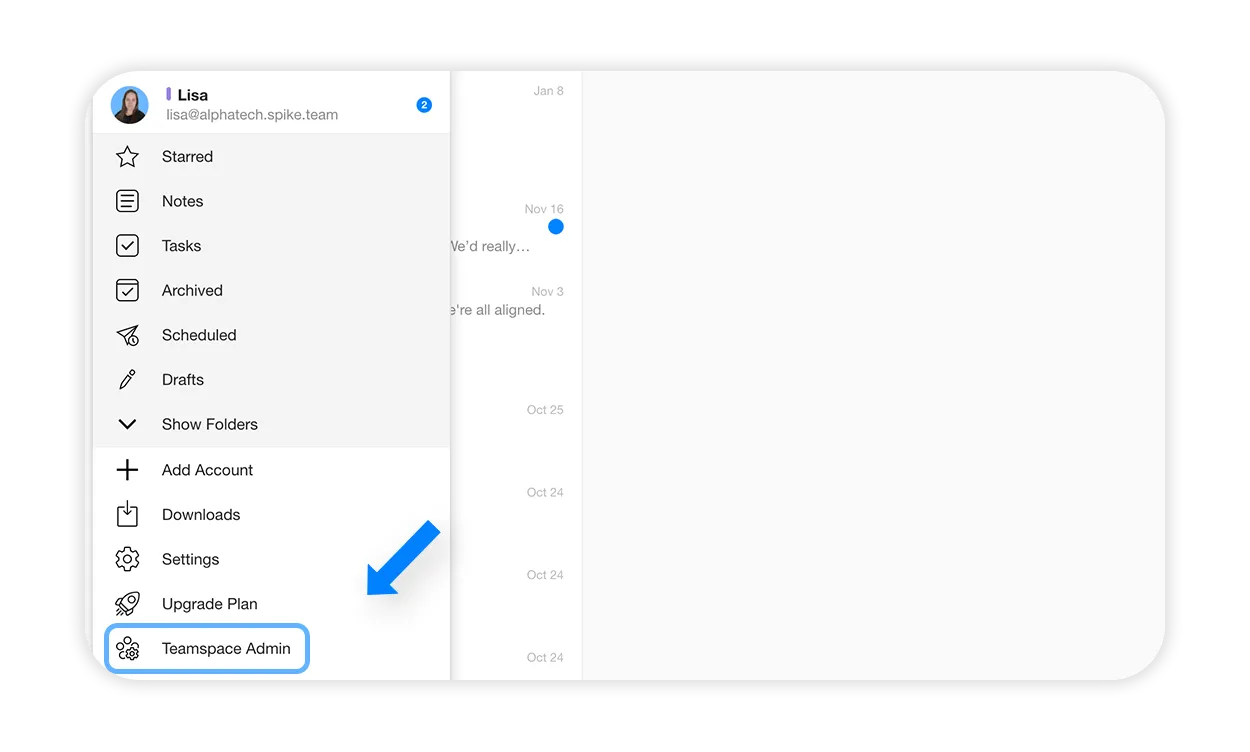
Click/tap on your profile picture in the top left corner to open the main menu, and select ‘Teamspace Admin’.
-
You will be redirected to your Teamspace admin page. Under ‘Domains’, select ‘Find a custom domain’.

-
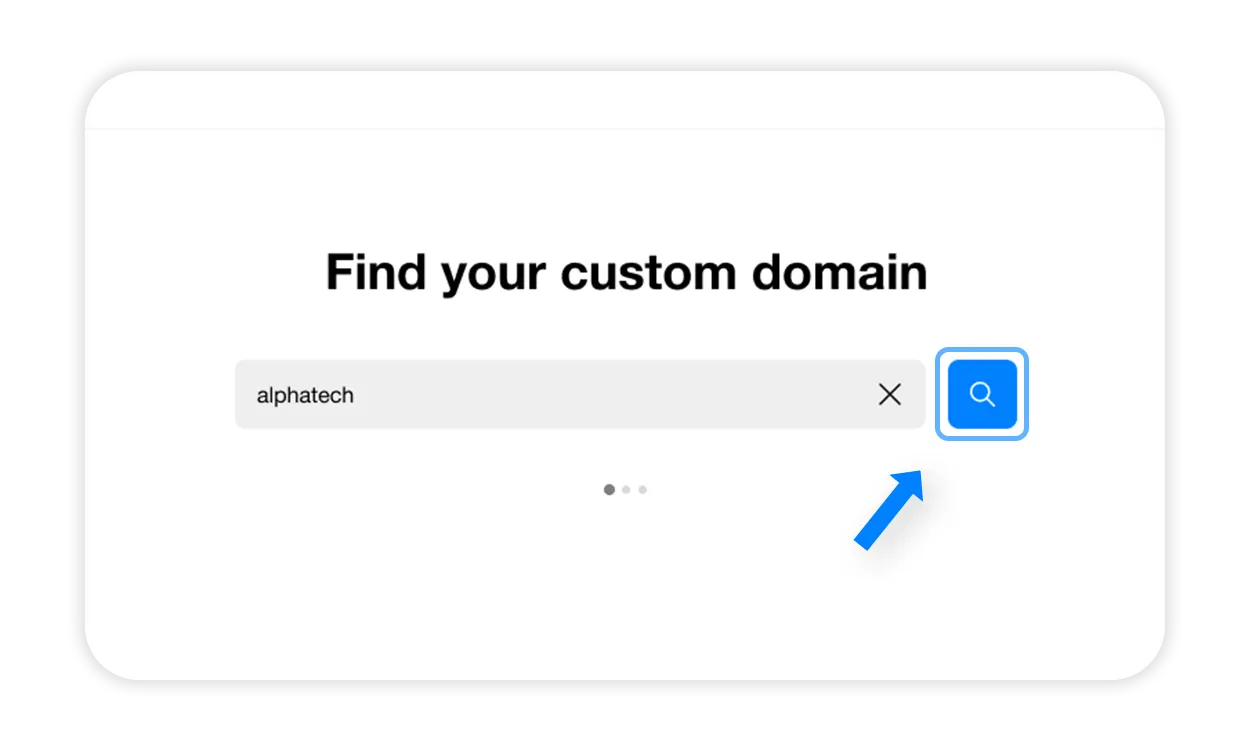
Type in keywords that you wish to include in your domain name. Domains can contain letters A-Z, digits 0-9, hyphen (-) and punctuation (.) marks. Once you’re done, press search.
-
A list of relevant options will populate, select the one you like best by clicking on ‘Get it now’.

-
You will be taken to a page to review the fine print. Kindly note that the first year is free, but after that, you will be charged for renewal. The renewal prices are subject to change, depending on third-party’s registrar. Click ‘Confirm’ to continue.

*Each domain offering has its own renewal price.
Upon completing the domain purchase process through Spike, you will be greeted with a confirmation page that announces your ownership of the new domain. It will confirm that the domain is now officially yours and has been designated as your primary domain.
-
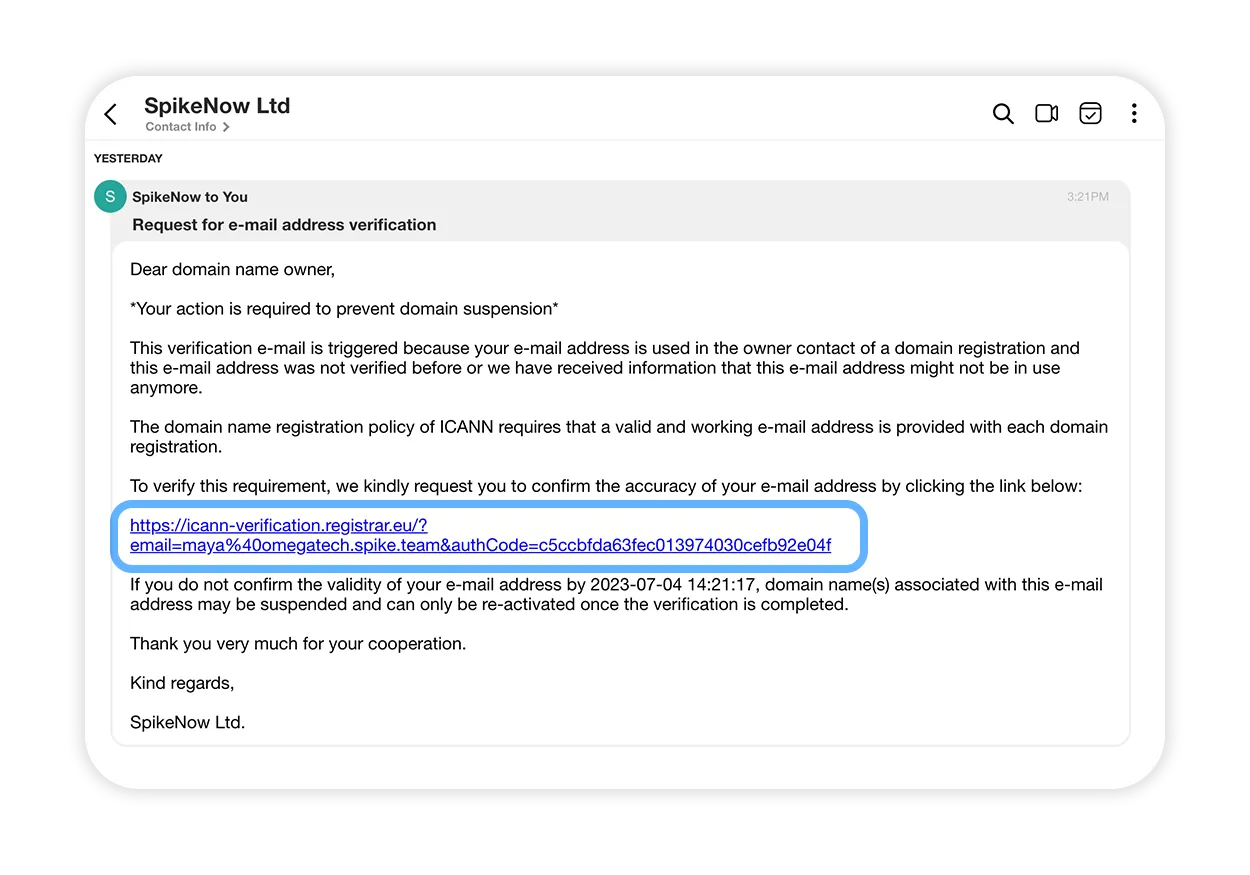
The last thing you need to do is click on the link sent from Spikenow LTD, which verifies that you generated the process of obtaining this domain.
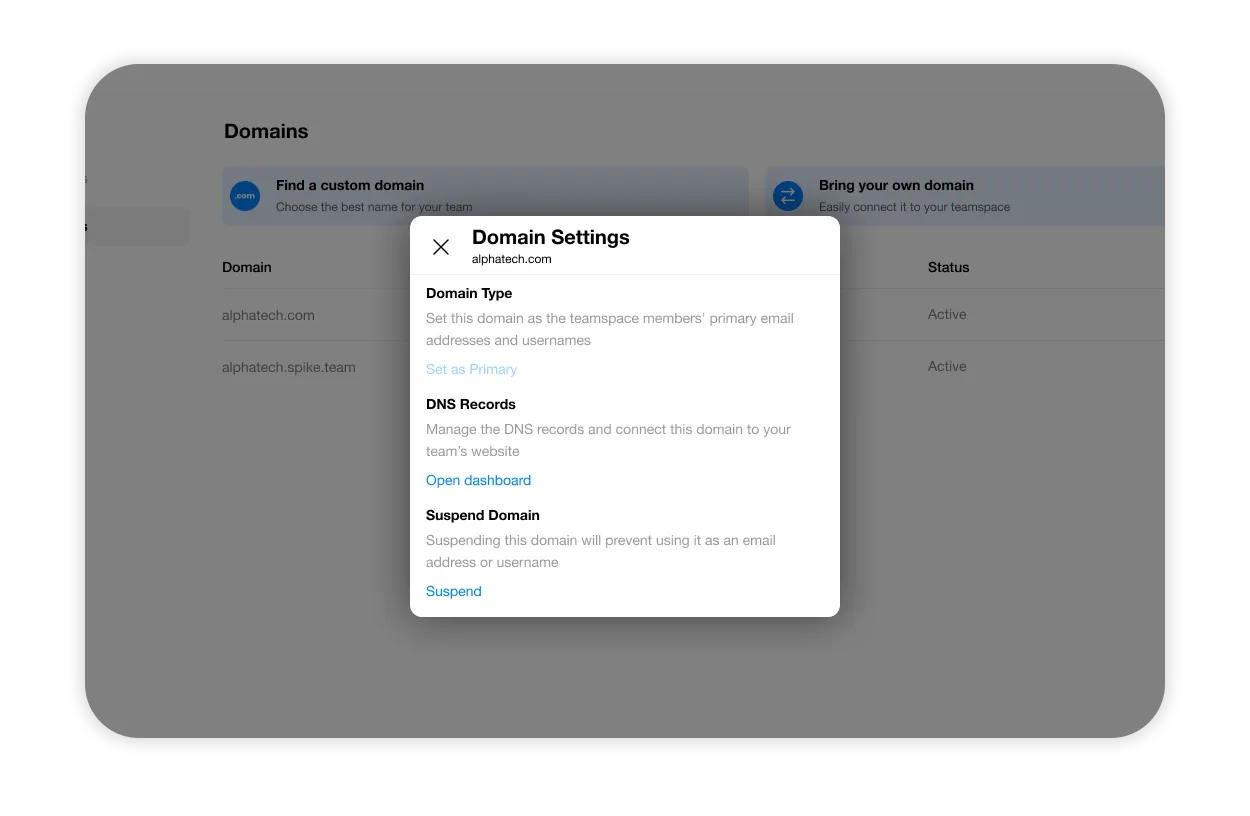
If you have an existing website, click on ‘Open dashboard’ to access your DNS records and connect your email address to your website.