Bring Your Own Domain
There are two ways to connect your email domain to Spike teamspace:
Use your existing domain: If you already have a domain, you can easily connect it to your Spike teamspace. Simply follow the instructions in this article to verify ownership and connect your domain.
Purchase a custom domain: If you don’t have a domain, you can purchase one directly from Spike. Simply select the option to purchase a domain in the Domains management page and follow the prompts to select and purchase your new domain.
By connecting your own email domain, you can ensure that your communication stays on brand and professional. With Spike, you can unify your inbox and streamline your communication without sacrificing your branding.
Getting to the Admin Page on Desktop
-
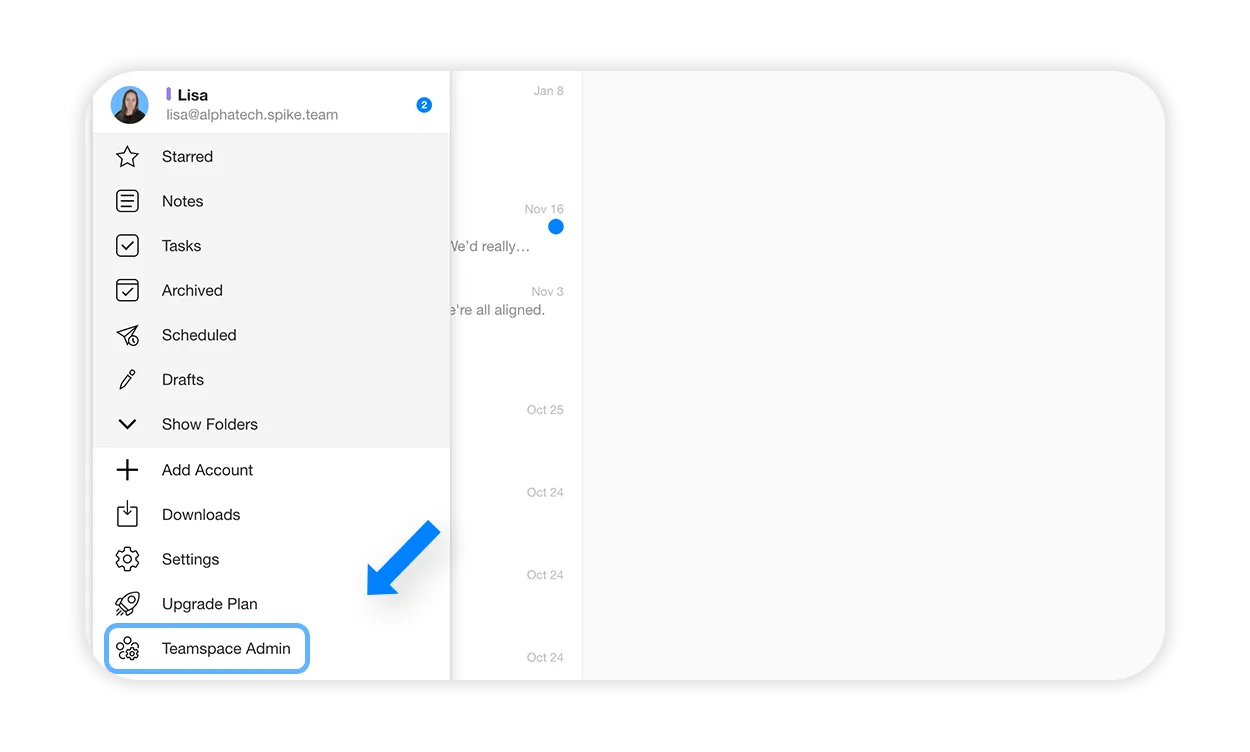
Click/tap on your profile picture in the top left corner to open the main menu, and select ‘Teamspace Admin’
-
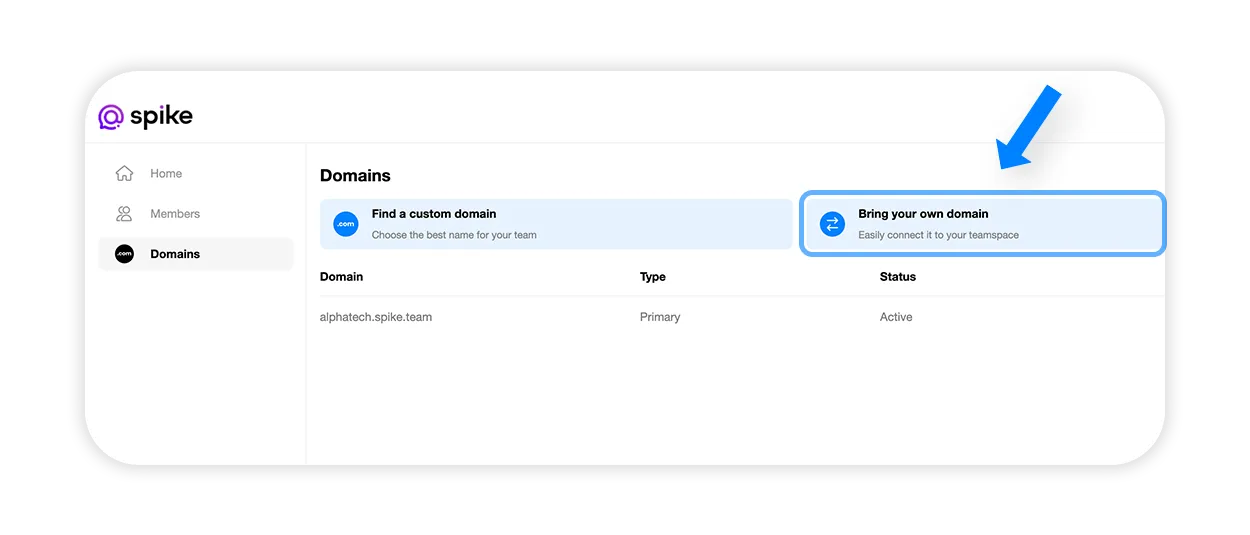
Now in your teamspace admin page, under ‘Domains’, select ‘Bring your own domain’.
Connect your own domain
-
First, enter your domain name (ex. mydomain.com) and click ‘Next’.
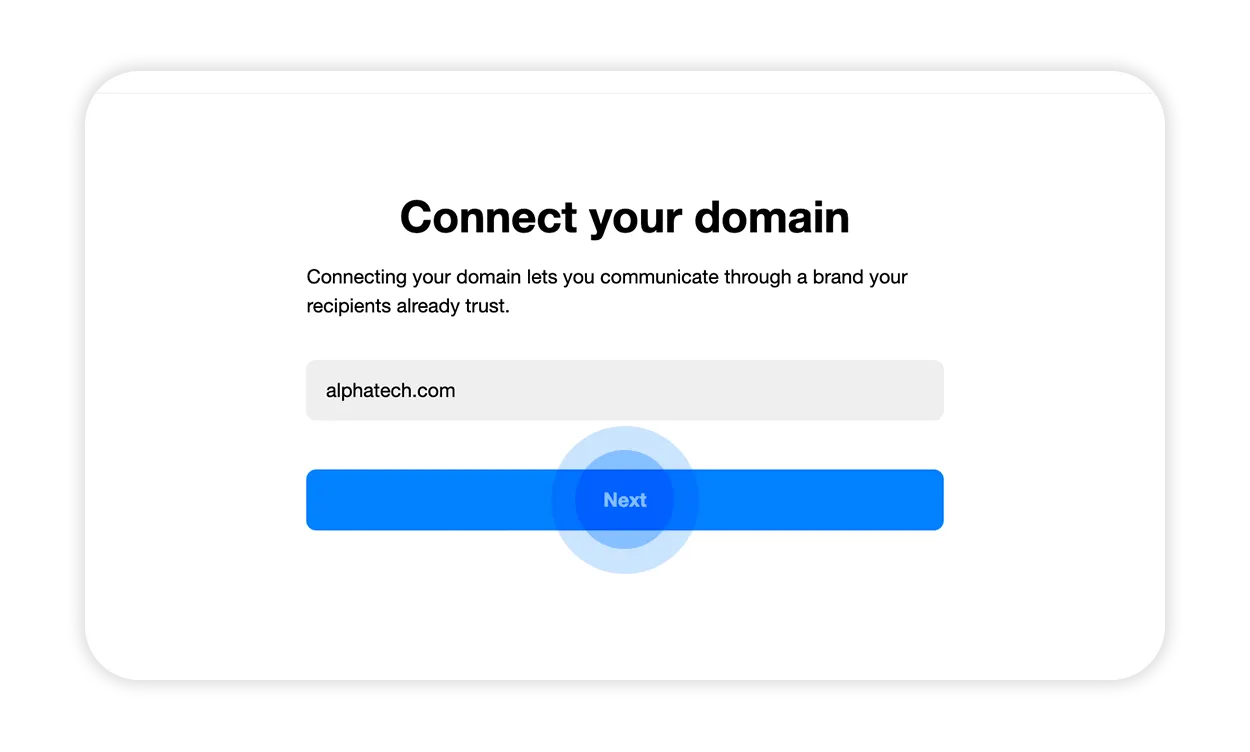
You will be taken to the following page:
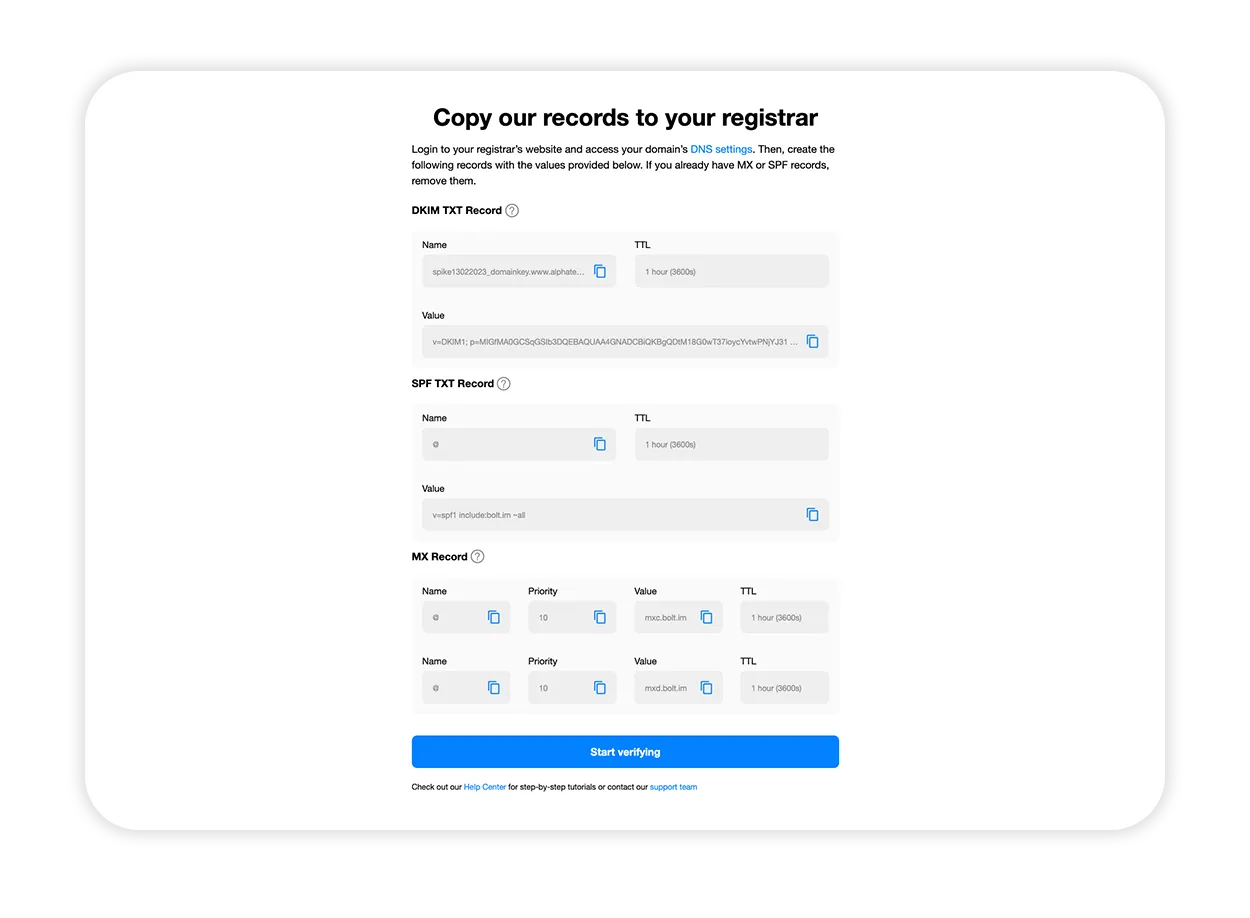
-
Next, you will need to login to your domain’s registrar. Use the blue copy button to copy the DKIM TXT records provided by Spike and add them as a new TXT record to the registrar.
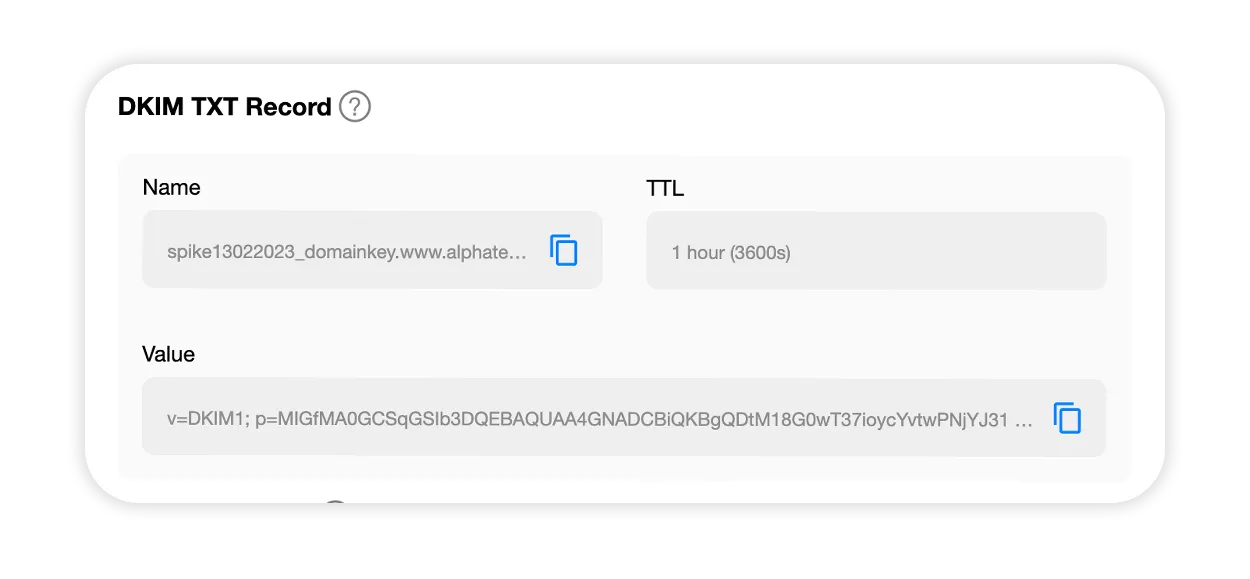
-
Do you have an SPF TXT record? If so, you will need to remove or delete them in your registrar and replace them with the records provided by Spike. If you do not yet have SPF TXT records set up, you will be required to set them up in your registrar to ensure that your messages will be successfully sent and not arrive in the spam folder.
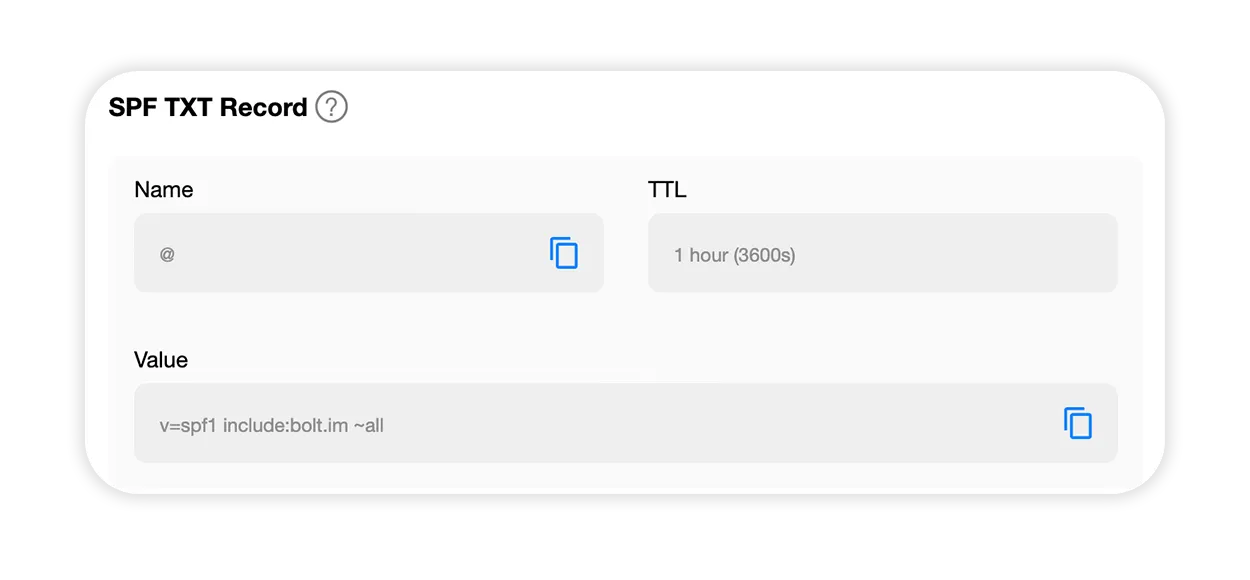
-
Almost done! Now let’s update your MX records.
Depending on your provider’s preference you will either have the option to edit existing MX records or you will need to delete the existing records and to create a new one.
Whichever option you have, you will need to copy the records shown on the screen and to paste them in your registrar’s website.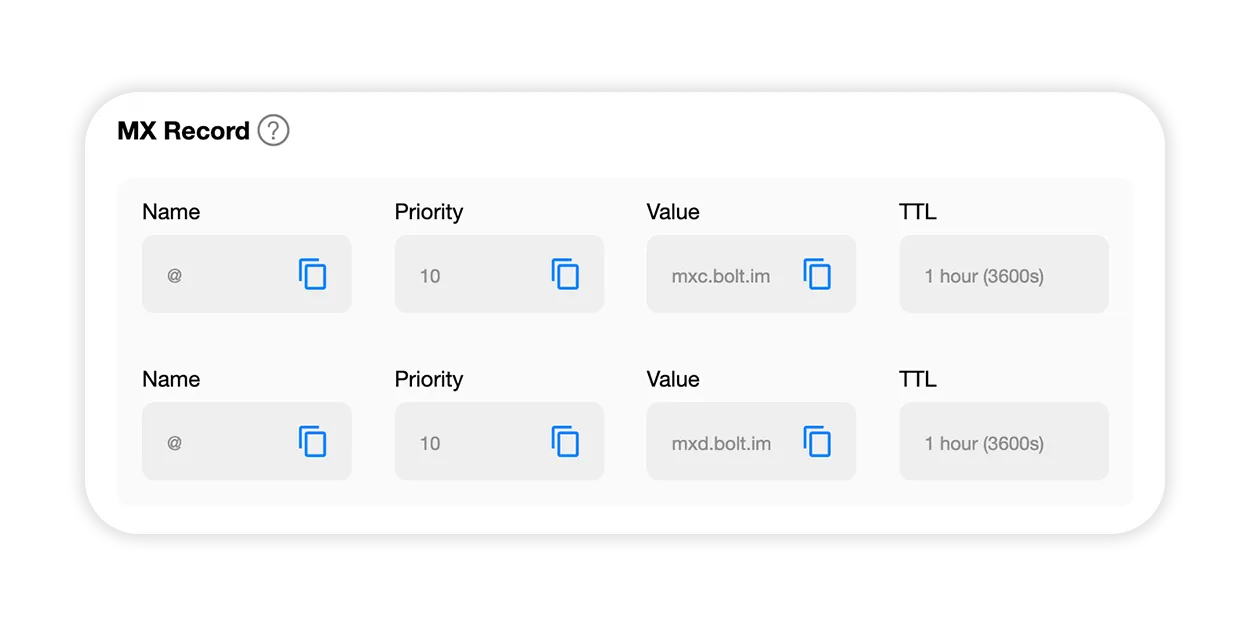
-
Once you have copy/pasted all of the required information to your registrar’s website, click on the blue ‘Start verifying’ button at the bottom of the page.

-
You will then be taken to the following page, click on ‘Manage your domains’.
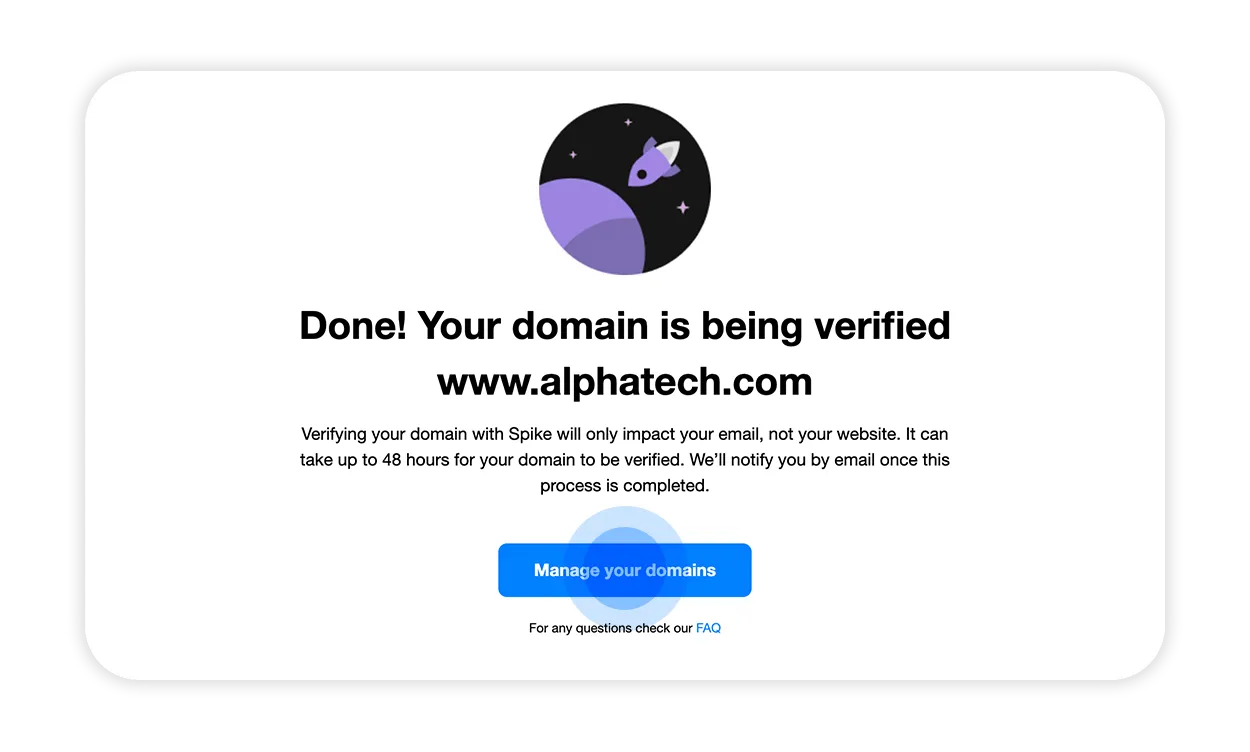
-
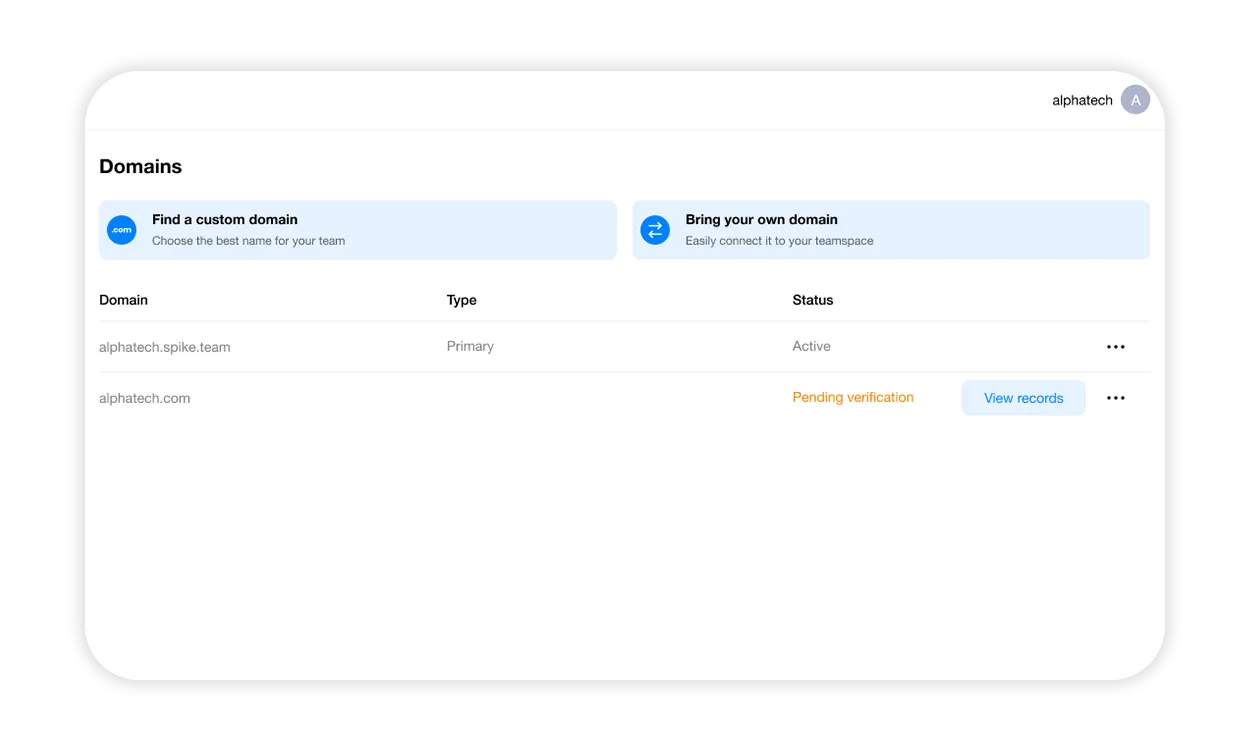
Now your domain is being verified, the process can take up to 48 hours. You will see it under your Domains as ‘Pending verification’.
-
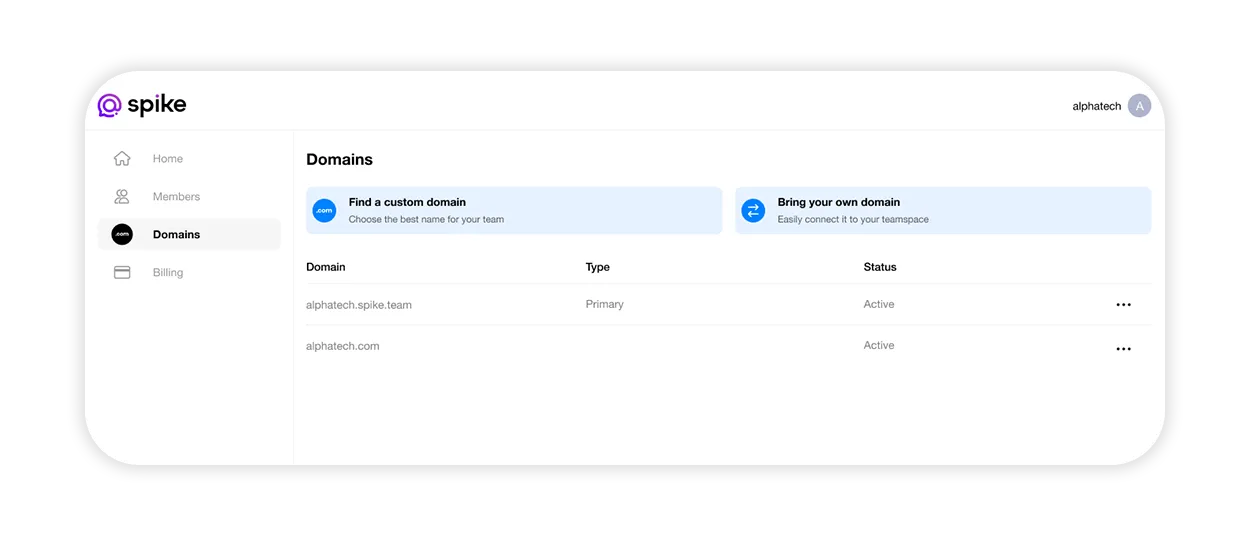
Once the process is successful you will see it as ‘Active’.
-
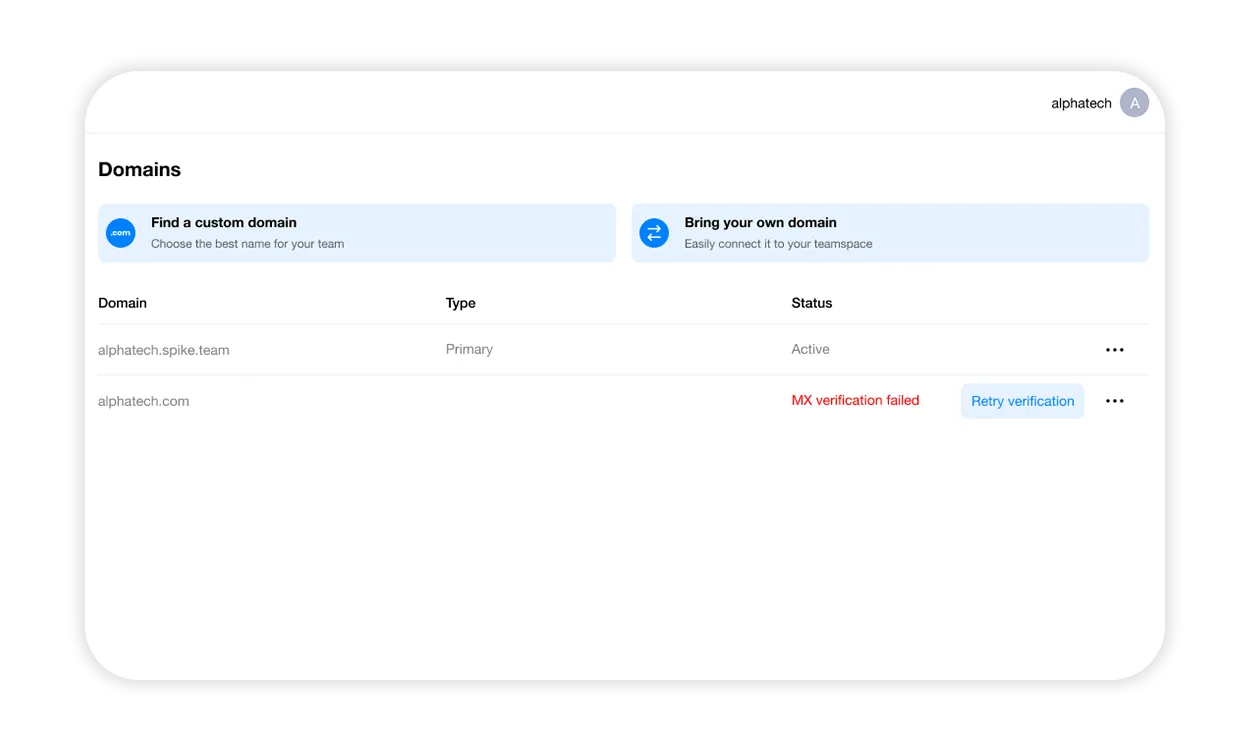
If the process did not succeed after 48 hours have passed, you will see a failure message. Click ‘Retry verification’ and you will be redirected to the relevant step that needs a second try. For example, if there was a problem verifying your MX records, you will see a error message ‘MX verification failed’.
-
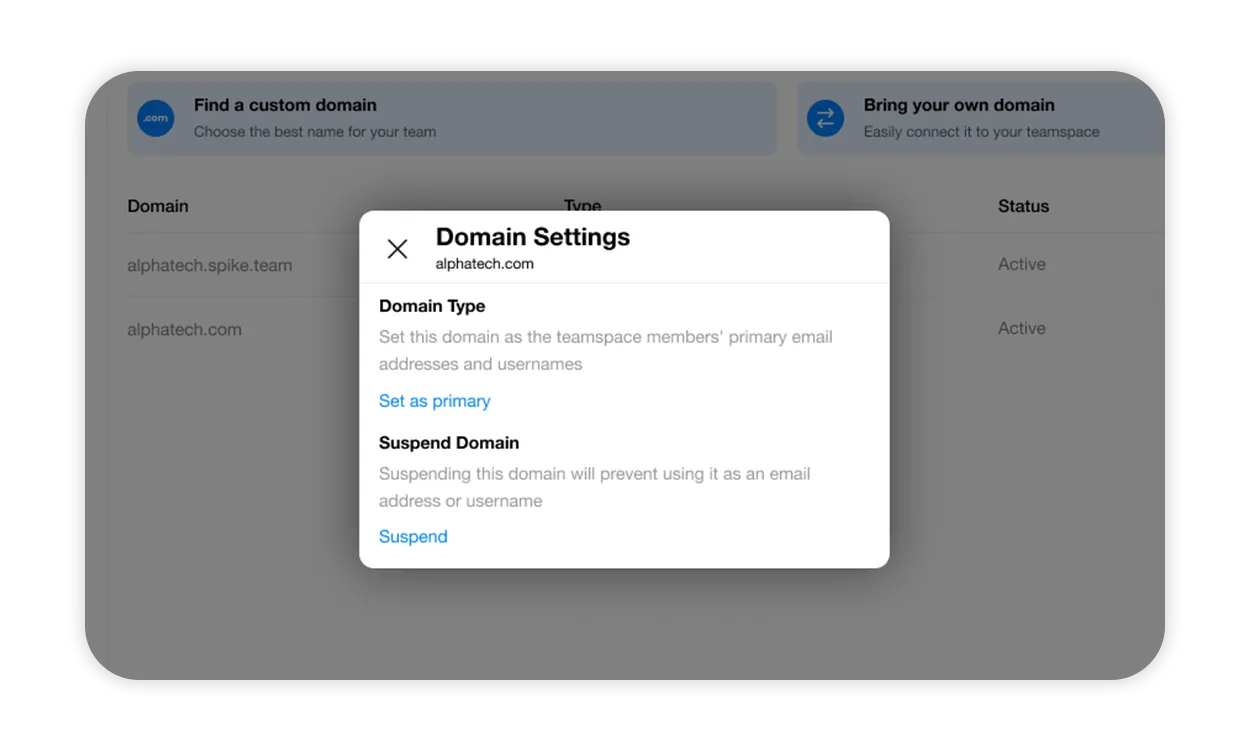
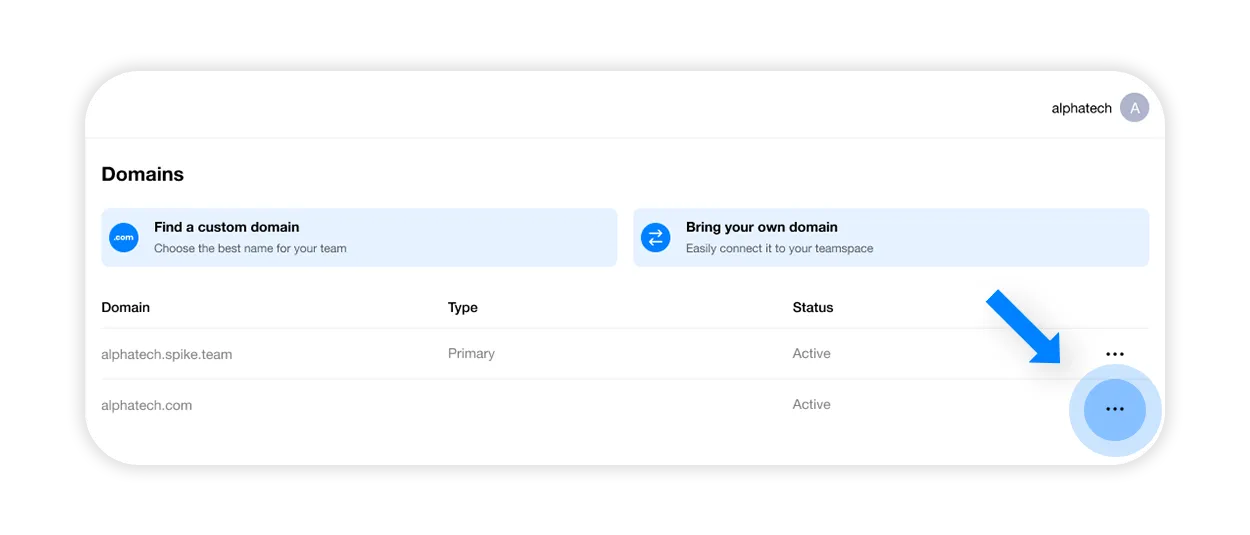
Once your domain is verified as active, you can activate it by setting it as primary. Click on three dots to open the actions menu.
-
Select ‘Set as primary’ and you’re all set!