How to Set Up a Business Email Server in 2024


You likely have used email your entire life without knowing how it works. People often say: “it’s in the cloud”. Well, for most email servers, it likely is. The debate between cloud-based and self-hosted solutions is a tale as old as time, with each offering its unique set of advantages and weaknesses.
What is an Email Server?
An email server is a specialized computer system or software application that manages the sending, receiving, and storage of email messages over the SMTP protocol. It functions as the backbone of the email communication infrastructure, facilitating the exchange of messages between users over the internet regardless of ISP, email provider, or application.
When someone sends an email, their email client communicates with the email server to deliver the message to the recipient’s inbox by looking up the domain’s MX record. The email server stores incoming messages until the recipient retrieves them. It also verifies user identities, manages user accounts, and enforces security measures to protect email data. Essentially, an email server is the digital version of a post office, handling the sorting, routing, and delivery of digital mail between users and across different email domains.
As we look deeper at how to set up a secure email server, we’ll explore the step-by-step details of setting up your own business email server, the potential reasons to pick between cloud vs on-prem options, and a recommendation on things to avoid (check the FAQ at the end). Whether you’re a seasoned email admin looking for a second opinion or just dipping your toes into the world of email server management, this guide aims to provide clarity, helping you navigate the complex waters of email server setup with confidence.
On-Prem vs Cloud-Hosted Email
In the early days of email usage, businesses often leaned towards on-prem email servers, relishing the control and customization they offered as cloud options weren’t feasible. The stock business ecosystem was Microsoft Exchange and Windows Server with Outlook.
Fast forward to today, and the debate between cloud-hosted and on-prem solutions is more relevant than ever. On the surface, on-prem servers might seem like the ideal choice for those wanting to secure their enterprise. After all, having your server means direct access, right? But herein lies the problem. With that control comes a plethora of responsibilities that can quickly become overwhelming for even the most seasoned IT teams.
First, there’s the ever-looming threat of spam. In the past, managing spam was a mere inconvenience. Today, it’s a full-blown battle. The sophistication of spam attacks has skyrocketed, requiring constant vigilance and updates to keep them from clogging up inboxes. And let’s not even delve into the security issues. Cyberattacks, data breaches, phishing scams, and ransomware have become the order of the day. An on-prem server, without the backing of a dedicated IT team working round the clock, can quickly become a hacker’s playground.
On the flip side, cloud-hosted solutions have come a long way, offering robust security measures, automatic updates, and a team of experts ensuring smooth sailing. They’ve democratized access to top-tier email services, ensuring even the smallest of businesses can enjoy state-of-the-art email communication without the headaches of constant maintenance.
Overall, the challenges of managing spam, coupled with the ever-present security threats, make on-prem solutions a risky venture for most.
How to proceed: In a mobility first world, going with a cloud-hosted solution is not just the smart choice; it’s the only choice for businesses that value security, efficiency, and peace of mind. The days of on-prem email servers, with their associated complexities, are best left in the past.
What Do You Need To Set Up A Business Email Server?
Setting up a secure email server begins with a few essential steps. First, you need to make sure you have the right access.
1. Control of Your Domain Name:
To set up an email server, you need control over this domain name. This means you should have the ability to make changes, renew it, and manage its settings. If you’re just starting out, numerous registrars can help you secure a domain that resonates with your brand.
If you already have one, ensure you have full access and control over its management dashboard. If someone else controls your domain name, you may need to reach out to them.
2. Access to MX Records:
MX, or Mail Exchange records, are addresses in the email world. They direct incoming emails to the servers where your email accounts are hosted. In simpler terms, they’re the digital postmen ensuring your emails reach the right mailbox on the right server. To set up an email server, you must be able to access and edit these records.
This process typically involves logging into your domain’s DNS (Domain Name System) settings and making the necessary adjustments. While it might sound technical, with the right guidance, it’s a straightforward task. Changing MX records can take 48 hours to propagate around the web, though
How to Set Up a Private Email Server
The easiest way to set up a private email server is with Spike Teamspace. It offers email hosting, team chat, collaboration tools, as well as video/audio conferencing.
Below, we’ve provided a detailed setp-by-step guide to setting up your own business email server:
Step 1: Open Spike’s Website

Start your journey by heading over to the Spike website. You’ll find the ‘Get Started Free’ button beckoning from the top right corner. A simple click is all it takes to set the wheels in motion to set up your secure email server.
Step 2: Pick out Your Teamspace
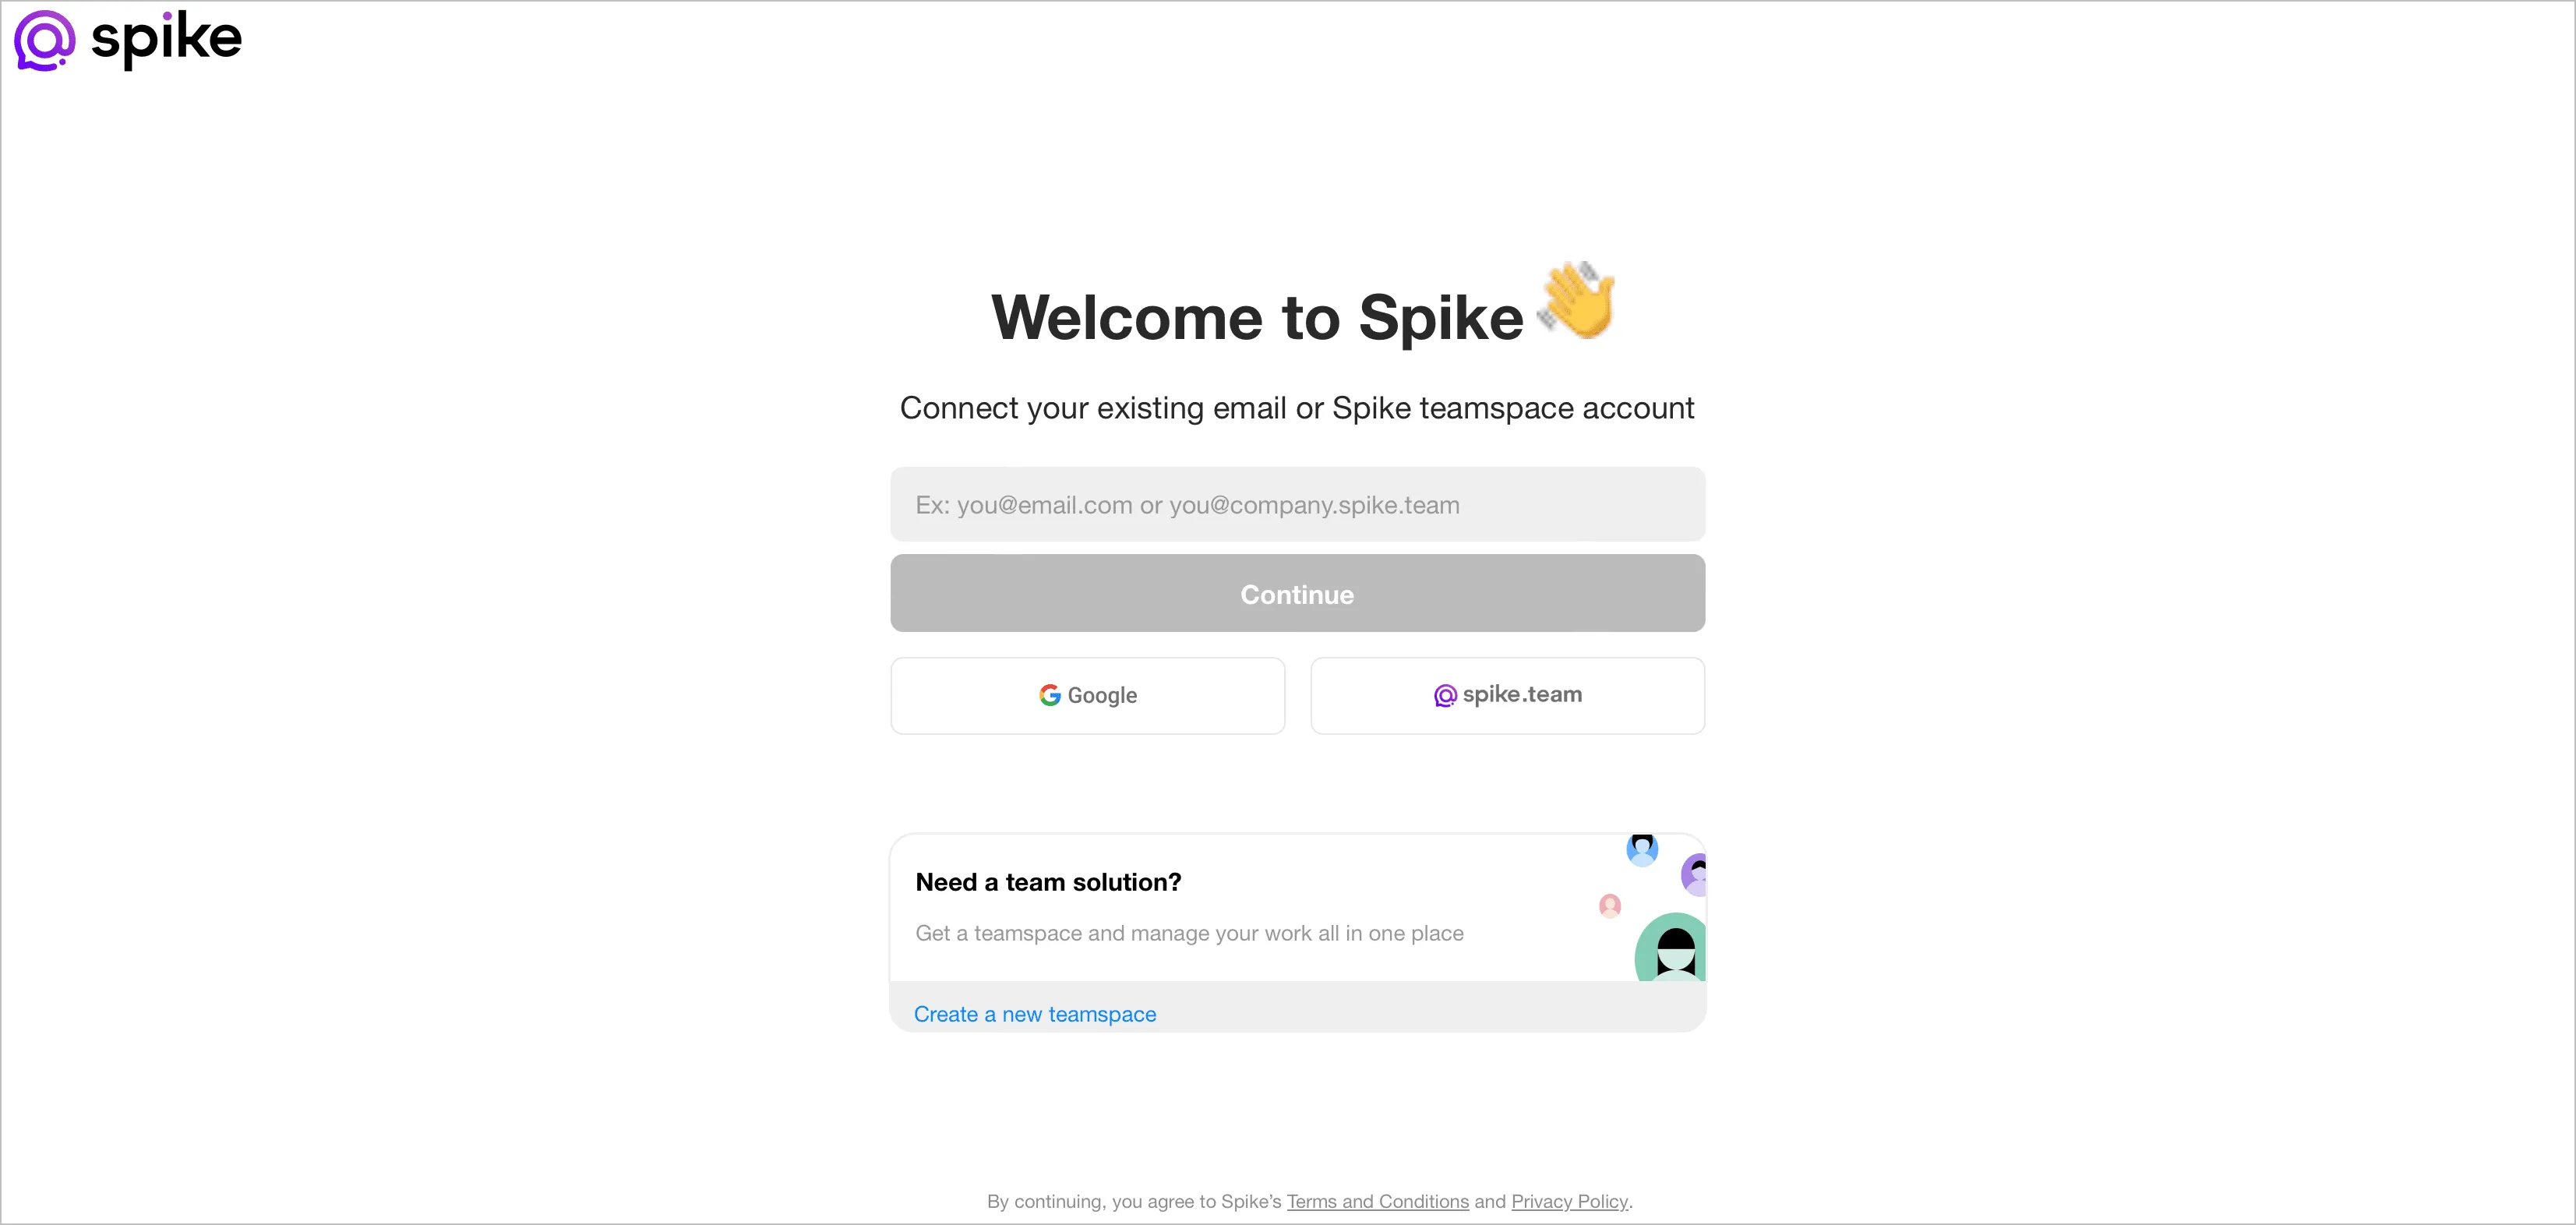
Upon clicking, you’ll be prompted to ‘Create a new teamspace.’ This is where the magic begins. Think of your teamspace as your digital workspace, tailored to your brand and team. Choose a name that resonates with your brand’s and click ‘Next’ to proceed.
Step 3: Personalize Your Presence
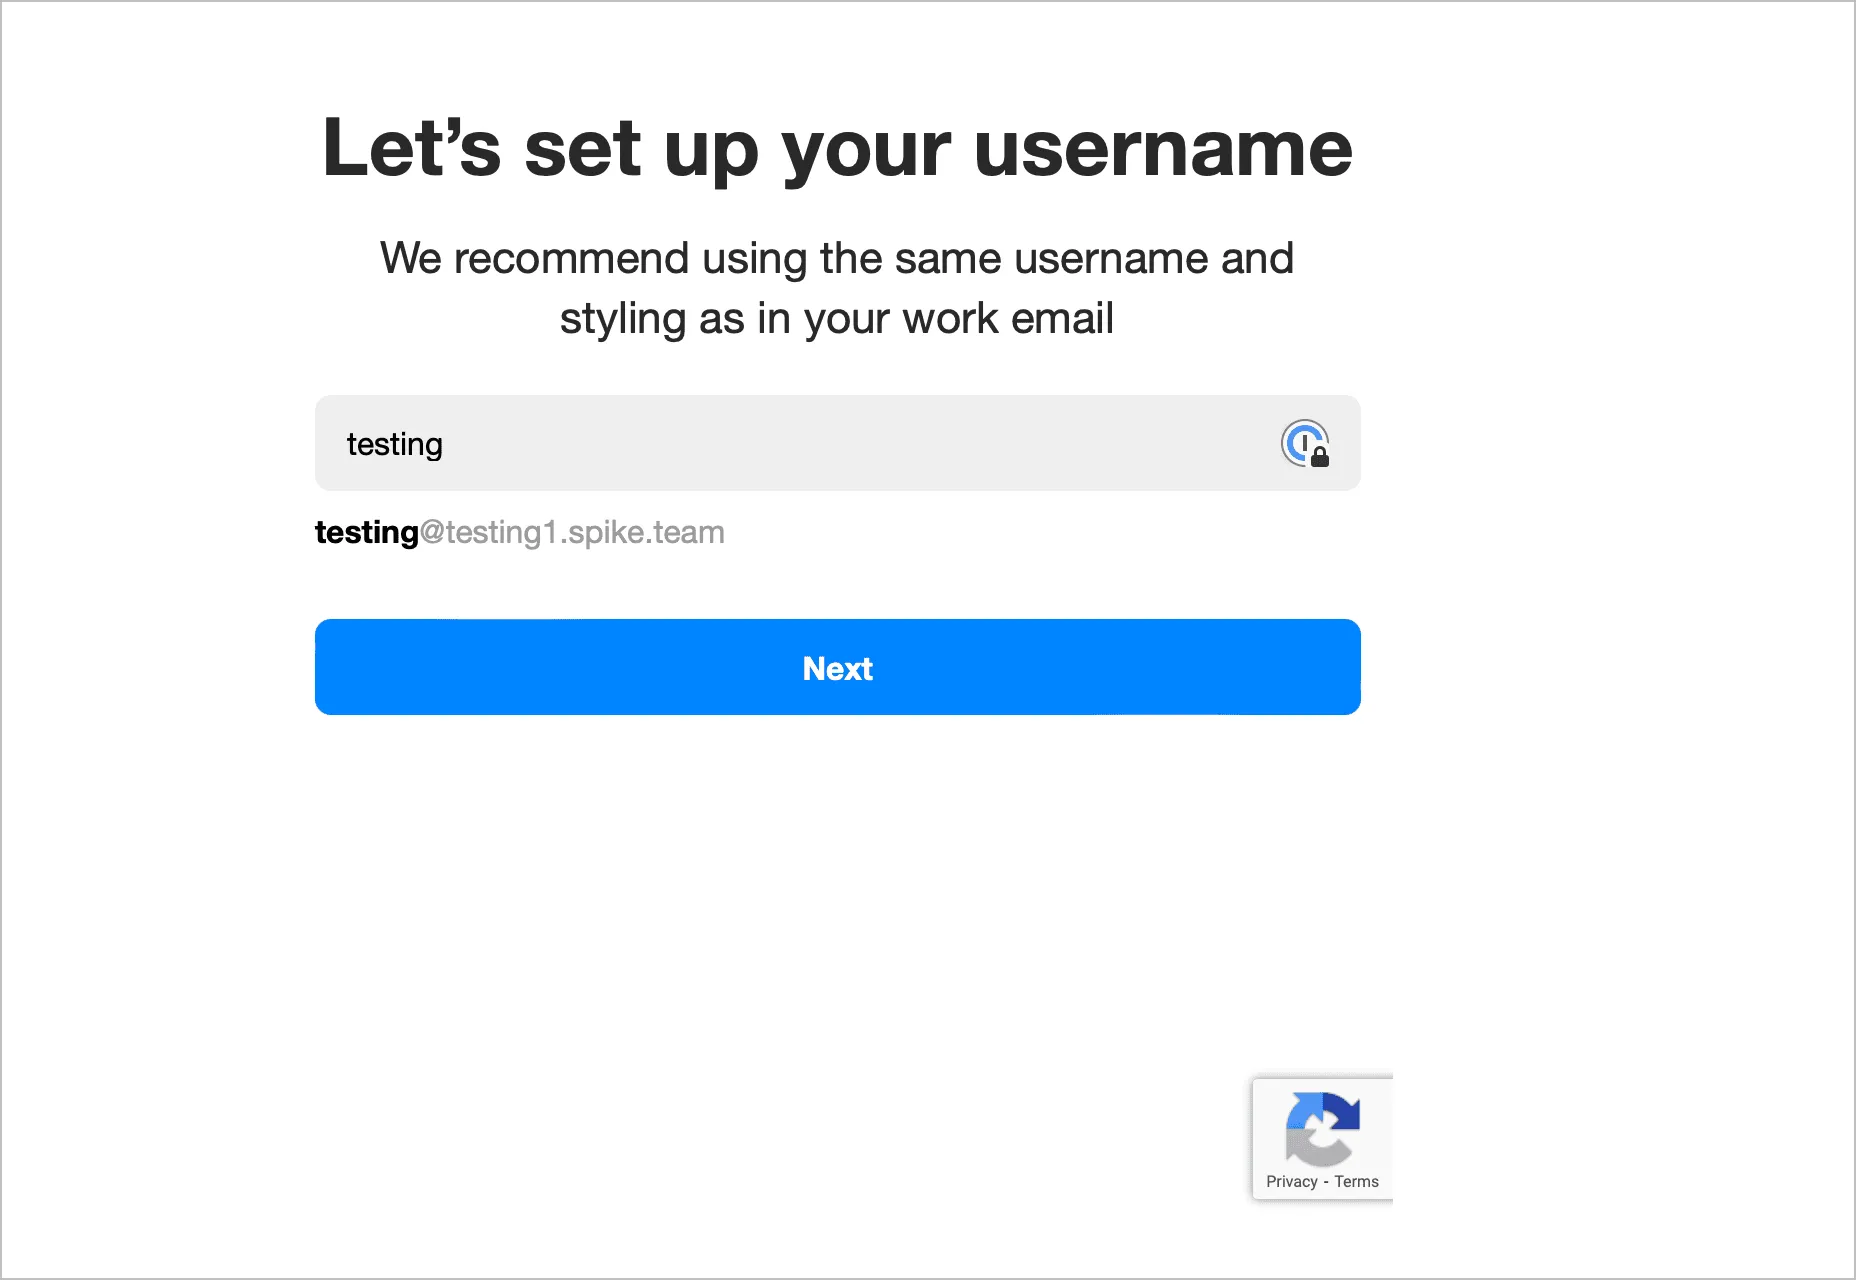
Choose a username that you’ll be recognized by within your teamspace. Once you connect your domain name, this will be your email username as well
Step 4: Secure Your Space
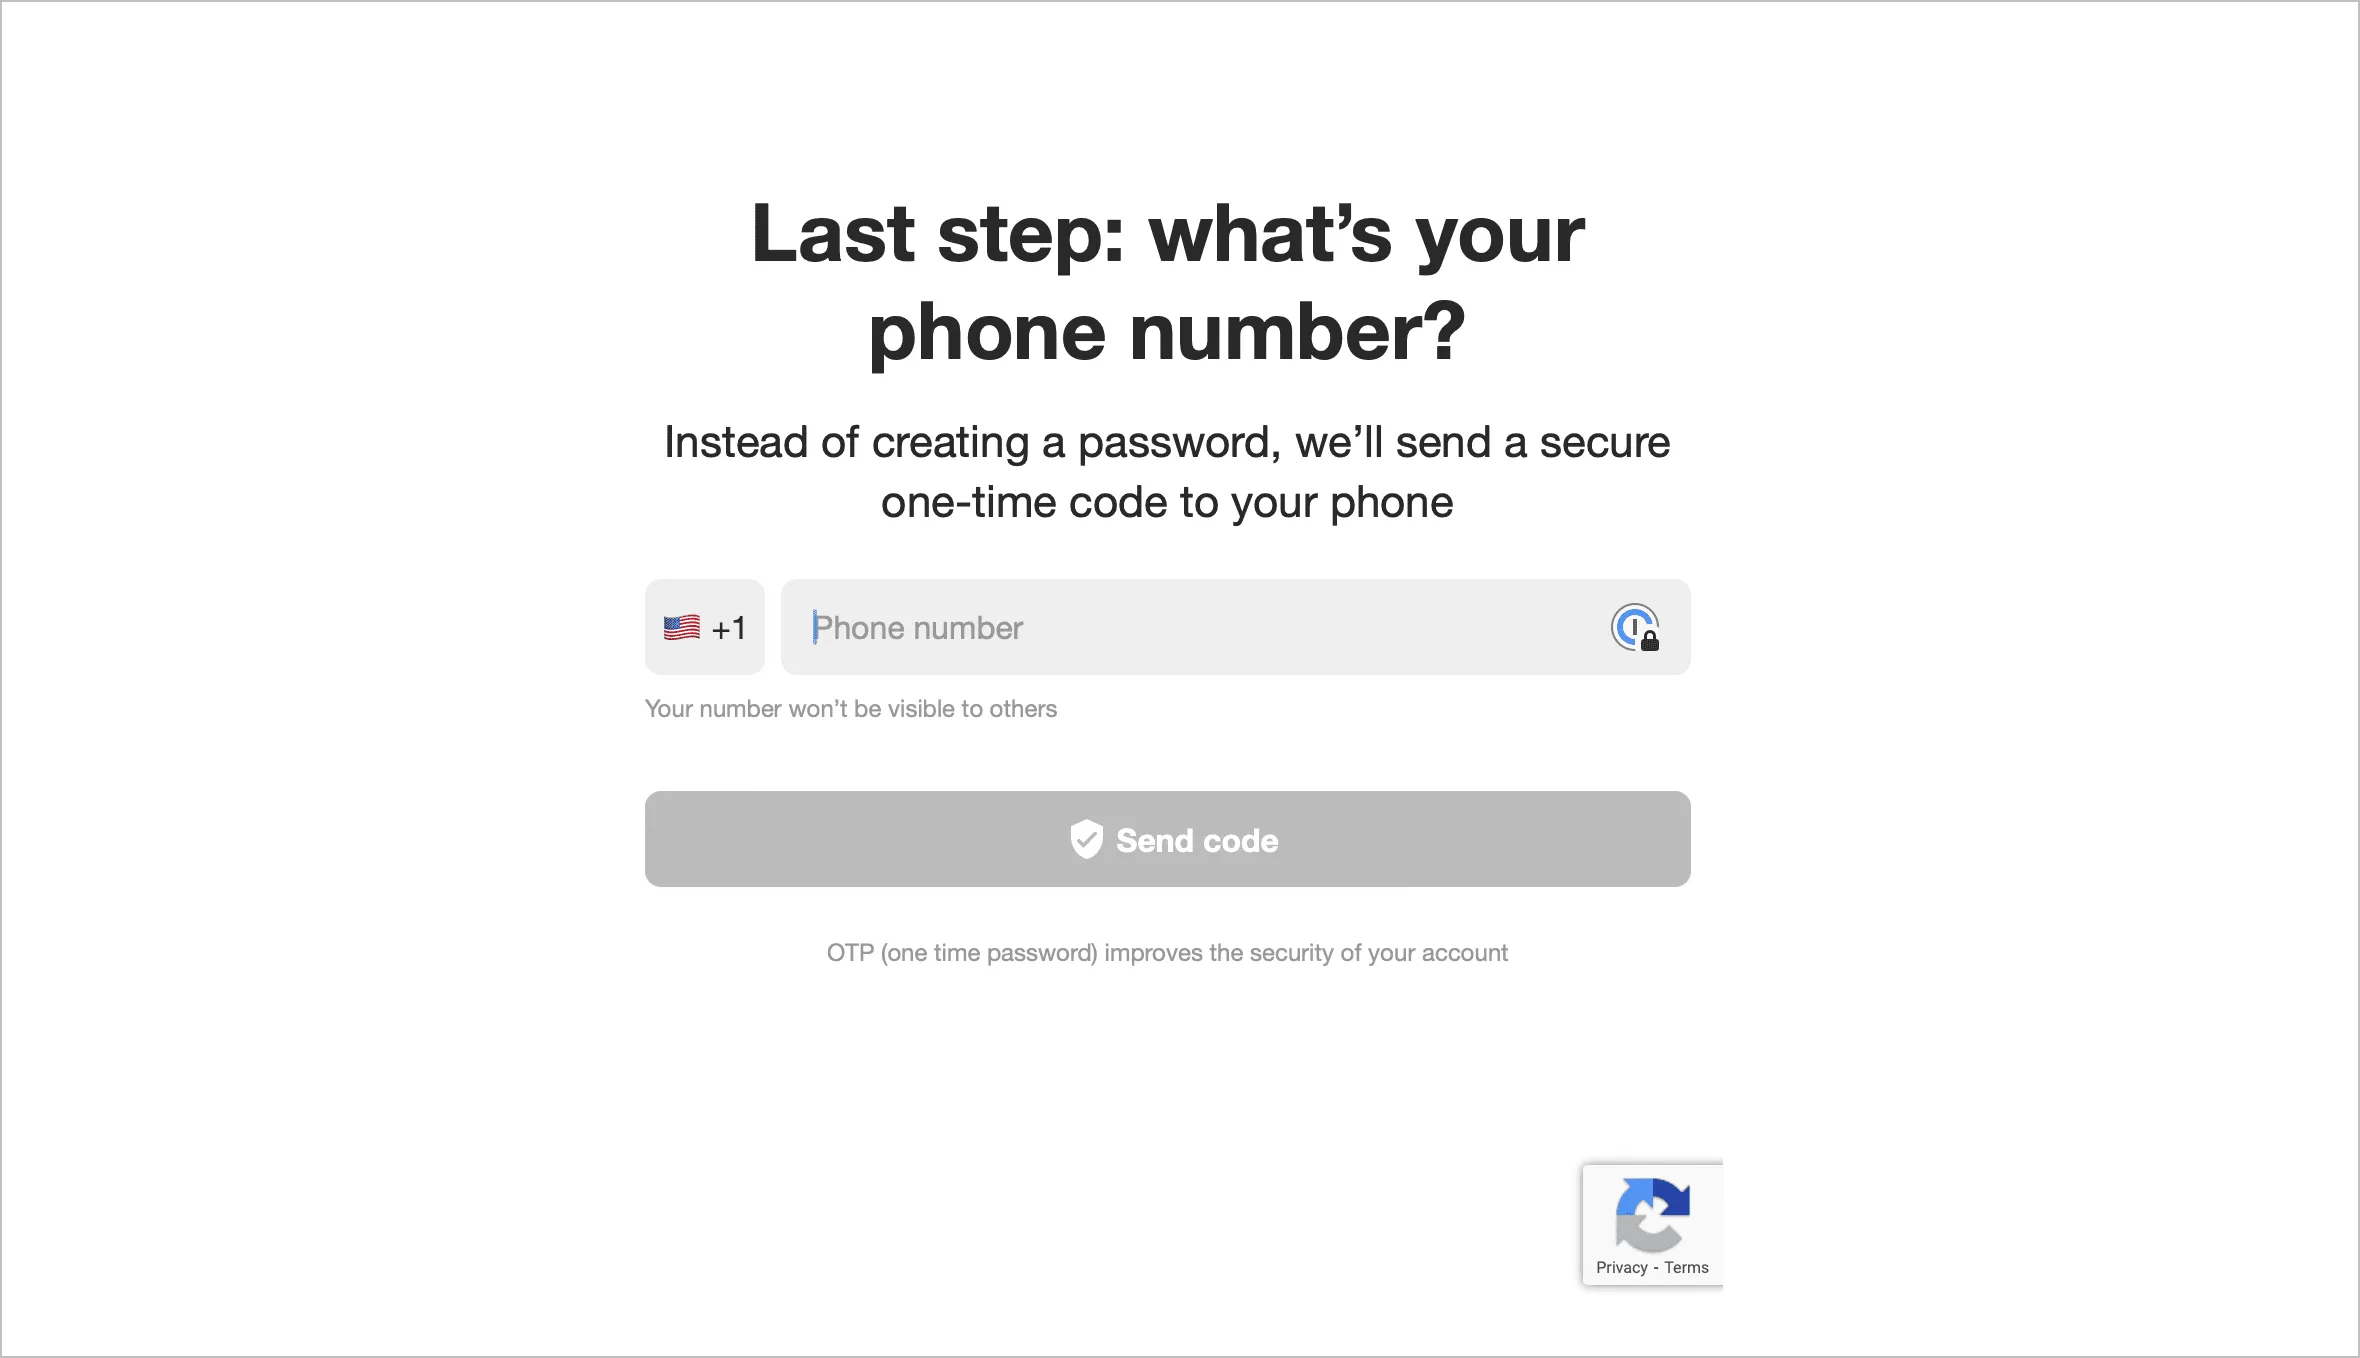
Enter your phone number to receive a one-time password. This added layer of security ensures that only you have access to your teamspace.
Step 5: Connect or Choose a Domain
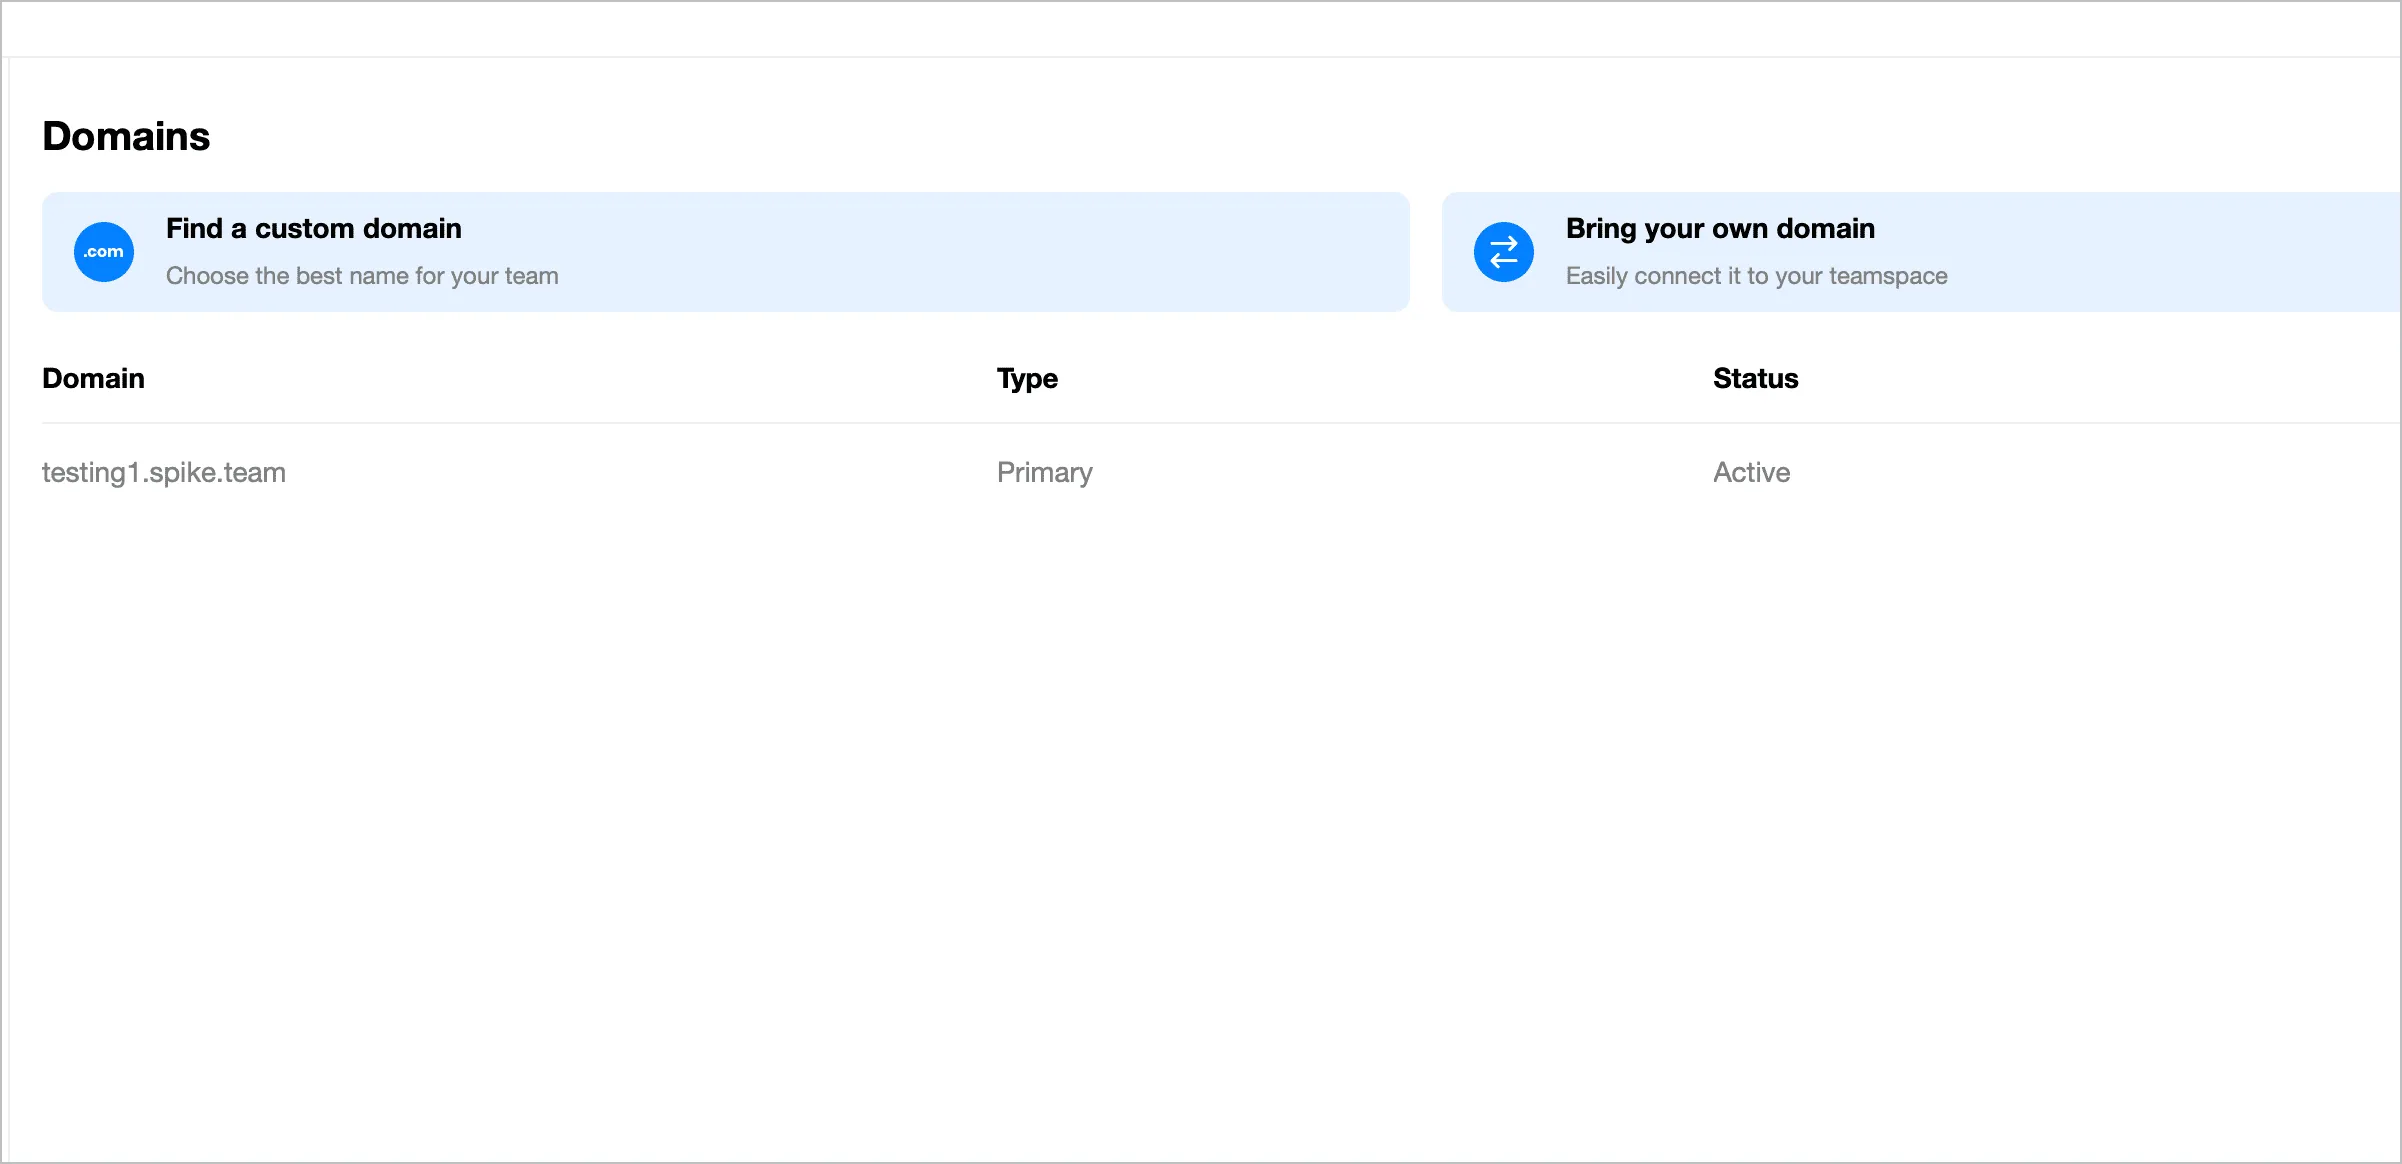
Once you’re logged in, you can easily connect your domain name. f you already possess an email domain name, Spike offers a seamless integration process. But, if you’re looking for something new, Spike has you covered as well. With a yearly subscription, you can get a custom email domain name, free of charge. It’s an offer that’s hard to beat!
How to Set Up an Email Server Using Google Workspace
For those in the Google ecosystem, Google Workspace is an alternative for secure email servers. Here’s how to sign up
Step 1: Head to the Google Workspace Website
Start by navigating to the official Google Workspace website. It’s here that you’ll find plenty of information about the various plans and offerings. But for now, focus on the ‘Get Started’ or ‘Sign Up’ button, usually prominently displayed. Google changes its layouts often, though
Step 2: Choose Your Plan
Google Workspace offers a range of plans tailored to different needs. Whether you’re a solo entrepreneur or a thriving business, there’s a plan that should meet your needs. Take a moment to review the features and pricing of each to determine which aligns best with your goals. You can easily upgrade in the future.
Step 3: Register or Connect Your Domain
For a professional touch, Google Workspace allows you to use a custom domain for your email addresses. If you already have a domain, you can connect it. If not, Google provides guidance on registering a new one. Google no longer sells domain names, though. You’ll need to connect your MX records to Google Workspace.
Step 4: Set Up Your Account
Once your domain is sorted, you’ll be prompted to fill in details about your business and create your administrator account. This account will be the heart of your email server setup, granting you access to manage users, settings, and more.
Step 5: Verify Your Domain
Before you can fully utilize Google Workspace, Google needs to ensure you’re the rightful owner of the domain you’ve provided. This step involves adding a unique verification record to your domain settings. It might sound technical, but Google provides step-by-step instructions to make it a breeze. It’ll usually involve a TXT record in your DNS. This is on top of your MX records.
How to Set Up an Email Server Using Microsoft 365
For those in the Microsoft ecosystem, Microsoft’s email server setup is a straightforward experience.
Step 1: Head to the Microsoft 365 Official Page
Head to the Microsoft 365 website and look for a ‘Get Started’ or ‘Sign Up’ button beckoning you to embark on your Microsoft 365 journey.
Step 2: Choose Your Plan
Microsoft 365 offers a variety of plans tailored to diverse needs. Whether you’re a solo entrepreneur, a bustling business, or someone just looking for a custom email domain, there’s a plan likely that’ll fit your business. Take a moment to look over the features and pricing to find your perfect plan.
Step 3: Create or Sign In to Your Microsoft Account
If you’re already a part of the Microsoft ecosystem with an Azure Active Directory account, this step is a breeze. Simply sign in with your existing credentials. If you’re new to the exosystem, you’ll need to create an account. .
Step 4: Follow the Setup Wizard
Once logged in, Microsoft’s setup wizard will guide you through the process of the email server setup.
Step 5: Configure Your Domain
Microsoft 365 allows you to use a custom domain for your email addresses. If you’ve got a domain ready, you can connect it easily with your MX records
Wrap up
Picking the right cloud email provider isn’t just a technical decision; it’s a strategic one. It’s about ensuring seamless communication, safeguarding sensitive data, and fostering professional credibility. The right provider becomes an extension of your business, bolstering its operations and reputation.
The key is finding a solution that is a collaborative powerhouse. It’s more than just email. It’s about offering team chat, document management, video meetings, and much more.
FAQ
The choice of a provider directly impacts the reliability, security, and efficiency of your email operations. It’s essential to conduct thorough research, evaluate the provider’s infrastructure, and ensure it aligns with your organizational needs.
The most important thing is that your email provider offers multi-factor authentication, but one thing to consider as well is the security of your domain provider. If someone accesses your domain provider, they can change your MX record?
A custom domain lends credibility and professionalism to your email branding to customers. You don’t want to use joeshomebuilding@aol.com
Understand the provider’s pricing structure in detail. Be aware of potential costs related to additional storage, user additions, or access to advanced features. A clear understanding upfront can prevent unexpected expenses later.
Proper planning is key. Opt for migrations during times when email traffic is low, and keep your team informed. Once you change your MX records, there will be a period where email stops flowing from your existing provider to your new one. You’ll want to retain access to both.
Gain Communication Clarity with Spike
You may also like
8 Best Free Email Clients for 2024
Discover the top 8 email clients of 2024. Enhance your productivity with these desktop and mobile solutions for efficient email management.
Read MoreHow to Create an Email Account without Phone Number Verification
Want to set up an email account, but so many providers require a phone number? Check out our picks of the best email providers that don’t require phone number verification during sign up and maintain your privacy.
Read MoreHow to Get a Custom Email Domain Address for Your Business
Learn how to create a custom email domain and get a professional email address. Follow our step-by-step guide and enhance your online identity today.
Read More